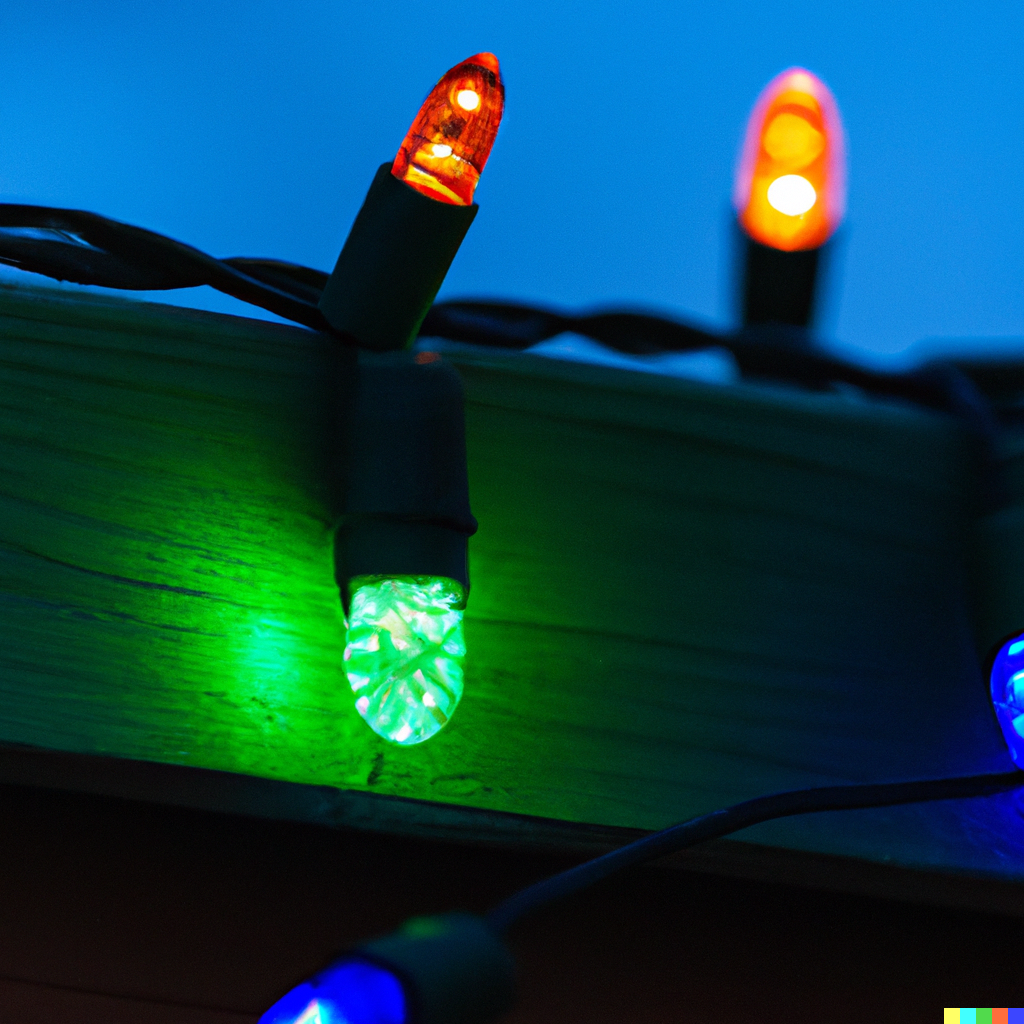
Step 1: Plan and Measure
Before you start hanging lights, it is important to have a plan in place. Start by deciding which areas of your house you want to decorate with lights. To get an estimate of how many lights you will need, measure the length of the areas where you want to hang lights. This will help you determine the number of strands you need to purchase. It is crucial to have enough lights to cover the space, so you do not have any gaps in your display.
Step 2: Gather the Right Tools and Materials
Now that you have a plan in place, it’s time to gather the necessary tools and materials. Here are some essential items you will need:
– Christmas lights
– Clips or hooks
– Ladder
– Measuring tape
– Extension cords
– Outdoor-rated electrical tape
– Outdoor-rated zip ties
– Timer (optional)
When selecting Christmas lights, make sure they are rated for outdoor use. This means they are designed to withstand different weather conditions and are safe to use outside. You can also choose between traditional incandescent lights or energy-efficient LED lights. Both work well for outdoor decorations and come in a variety of colors and styles.
Step 3: Test Your Lights
Before you start hanging lights, it’s important to test them to make sure they are working properly. Plug in each strand to make sure all the bulbs are lit. This will save you time and frustration later on if you come across a strand with faulty bulbs.
Step 4: Start with the Power Source and Extension Cords
Now that you have all your tools and materials ready, it’s time to start hanging the lights. The first step is to choose a power source for your lights. If you have an outdoor outlet, that would be the most convenient option. However, if you do not have one, you can use an extension cord from an indoor outlet. Make sure you use an outdoor-rated extension cord and secure it properly to prevent tripping hazards.
Step 5: Hang the First Strand of Lights
Once you have your power source set up, start hanging the lights at the highest point of your house. This could be the peak of your roof or the top edge of a window. Use clips or hooks to secure the lights in place. Make sure to space them evenly for a clean and uniform look. You can also use zip ties to secure the lights to any vertical features such as pillars or columns.
Step 6: Continue Hanging Lights Along the Roofline
Once you have the first strand of lights secured, continue along the roofline, using clips or hooks to attach the lights. Make sure to measure the distance between the clips or hooks to ensure the spacing remains consistent. If you come across any corners, gently bend the strand to follow the line. Be careful not to pull or stretch the lights too much as it may cause damage.
Step 7: Secure Lights Along the Fascia Board
If your house does not have gutters, the fascia board (the board running along the edge of the roof) can serve as another point to attach lights. Use clips or hooks to secure the lights in place, spacing them evenly. This will help create a more cohesive look and prevent the lights from sagging.
Step 8: Use Outdoor-rated Tape for Loose Cords
As you continue hanging lights, you may come across cords that are not staying in place. To avoid tripping hazards and maintain a clean look, use outdoor-rated electrical tape to secure the cords to the house. This will also help protect the cords from harsh weather conditions.
Step 9: Add Finishing Touches and Safety Measures
After all the lights are hung, take a step back and assess if you need to make any additional adjustments. This is also a good time to add any extra decorations, such as wreaths or bows, to your display. It’s also important to prioritize safety when hanging lights. Make sure your ladder is properly secured and do not lean too far while hanging the lights. If you are not comfortable climbing and working at heights, consider hiring a professional to help you with this task.
Step 10: Consider Using a Timer for Lights
A great way to save energy and prevent your lights from staying on all night is by using a timer. You can set the timer to turn on the lights when it gets dark and turn them off after a certain amount of time. This is also a helpful precautionary measure to ensure the lights do not overheat.
Conclusion
Hanging Christmas lights on a house without gutters may seem like a daunting task, but with the right tools and techniques, it can be easily accomplished. Remember to plan and measure, use the right tools and materials, and prioritize safety while hanging lights. With these steps in mind, you can create a beautiful and festive display that will impress your neighbors and bring joy to your home during the holiday season.

